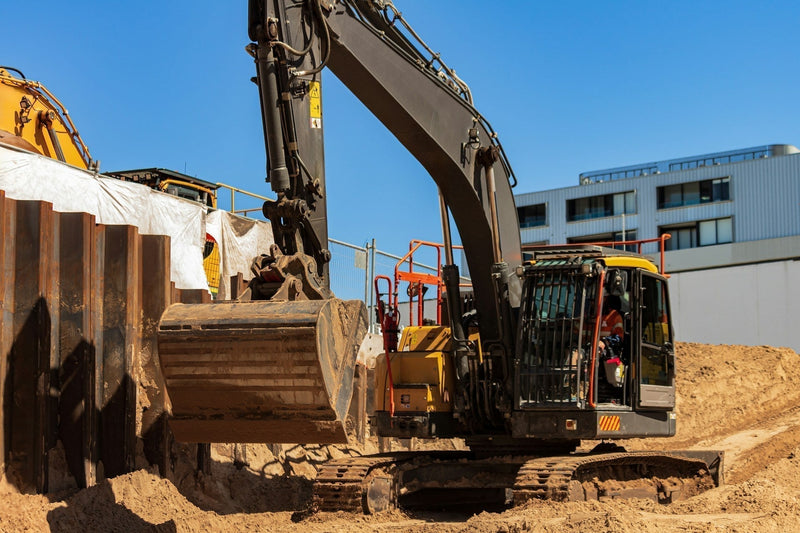
A hydraulic cylinder leak is more than a nuisance. It's a direct threat to operational efficiency and profitability. These leaks often result from worn components, fluid contamination, pressure spikes, or misalignment, all of which weaken the seals. Once seals fail, performance drops, safety risks escalate, and costs increase.
Understanding these root causes is the first step toward effective prevention and repair. You can detect leaks early and avoid costly repairs with the right knowledge. This guide provides everything you need to know to protect your hydraulic equipment and maintain peak performance.
External vs. Internal Leakage
Hydraulic system leaks are categorized as either external or internal. Accurate diagnosis is essential, as misidentifying the type of leak can result in unnecessary replacements. Use the following signs and tests to distinguish between them:
External Hydraulic Fluid Leak Signs
External leaks are the most obvious type of hydraulic leak. They’re marked by visible hydraulic oil escaping from the hydraulic system. The table below compares the most common external leak locations:
|
Component to Inspect |
Indication of Leak |
Probable Cause |
|
Rod Seal (at Gland) |
Oil film on the extended rod |
Worn or damaged rod seal/wiper seal |
|
Hose Fittings |
Weeping or dripping at crimp/threads |
Damaged O-ring or improper torque |
|
Port Connections |
Fluid accumulation around ports |
Failed seal or cracked weld |
|
Spool Valves |
Fluid seepage around the valve body |
Worn spool valve seals or scoring |
Some eternal leaks, however, are less noticeable. To detect these, add a manufacturer-approved fluorescent dye to the reservoir, operate the hydraulic equipment, and inspect the components with a UV flashlight. The source of the leak will glow, making it easy to pinpoint the problem.
How to Check if a Hydraulic Cylinder Is Leaking Internally
Internal leakage occurs when the piston seal fails, allowing hydraulic fluid to bypass from one side of the piston to the other. This leads to symptoms such as cylinder drift, inability to hold loads, and elevated fluid temperatures.
You may also notice unusual noises such as cavitation or knocking sounds. Additionally, jerky movements during operation often signal internal bypass issues that require immediate attention. These hidden efficiency losses can reach 16-20% before operators detect a problem.
To confirm an internal leak, perform a bench bypass test. Secure the cylinder, cap the rod-end port, and pressurize the base-end port to its specified working pressure. Monitor rod movement or pressure drop with the cylinder in a neutral position.
If the pressure drop exceeds the manufacturer's specifications, replace the piston seal and inspect the piston and bore for wear. If the pressure remains within acceptable limits, the cylinder is functioning properly. In this case, other hydraulic system components, such as control valves, should be investigated to identify the source of the issue.
|
Safety Notice: High-pressure hydraulic fluid is extremely dangerous. It takes only 100 psi to pierce skin, causing severe injuries. For official guidelines, refer to OSHA standards. |
Tools and Components for Hydraulic Cylinder Repair

Once you have diagnosed a hydraulic fluid leak, having the correct tools and components ready before disassembly minimizes downtime. The tools you choose directly affect repair quality and cylinder life. Essential tools for disassembly and seal replacement include:
-
Hand tools: Snap-ring pliers, gland spanner wrench, soft-jaw bench vise, brass picks.
-
Aftermarket seal kit: To select the correct kit, cross-reference the cylinder's part number. HW Part Store offers a fit guarantee on all its U.S.-made aftermarket seal kits and provides frequent inventory updates to ensure parts are in stock.
-
Optional tools: A cylinder hone may be needed to address light scoring inside the barrel.
Hydraulic Cylinder Disassembly and Seal Replacement
Meticulous work during disassembly and replacement is foundational to a successful rebuild. Careless handling of components, leftover debris, or contamination can immediately compromise the repair.
Follow these step-by-step processes to ensure proper seal replacement:
Step 1: Secure Hydraulic Cylinder
Secure the cylinder barrel horizontally in a soft-jaw bench vise. Clamping on the gland or rod can cause bending or scoring, which may permanently damage the hydraulic cylinder.
Using a spanner wrench, unscrew and remove the gland or retainer cap slowly and evenly to avoid uneven stress on threads or seals.
Step 2: Extract the Rod
Carefully slide the rod and piston assembly out of the barrel. Perform a detailed visual and tactile inspection of the rod and piston surfaces.
Look for scoring, pitting, chrome flaking, or signs of corrosion. Also, inspect the piston for bent rings, cracked grooves, or excessive wear.
Step 3: Remove Old Piston Seals

Cat 931C Backhoe Stick / Blade Shift Cylinder Seal Kit
VIEW SPECS
Using a brass pick or plastic tool to avoid scratching surfaces, remove all old piston seals. Pay special attention to tight grooves, corners, and backing rings that may trap debris.
Clean all seal grooves and surrounding areas using lint-free cloths and a manufacturer-approved cleaning solution to eliminate contaminants that could compromise the new seals.
Step 4: Install New Seals
Install the new aftermarket seals from your kit, ensuring each seal is oriented correctly, seated fully, and free of twists or gaps. Before installation, lightly lubricate the seals with compatible hydraulic oil to reduce friction during initial operation.
Take extra care during this step, as improper seal installation often results in jerky movements under load and can cause immediate leaks, requiring a complete teardown to correct. Double-check the alignment and orientation of each seal before proceeding with reassembly to avoid these costly mistakes.
Step 5: Reassembly & Testing
Proper reassembly and post-repair testing are essential to validate the quality of your work. Skipping these steps often results in recurring leaks and expensive downtime.
Begin by applying a light coat of clean hydraulic fluid to all new seals and component surfaces to prevent damage during assembly. Carefully reinsert the rod and piston assembly, then torque the gland to the manufacturer's specification.
Once the cylinder is remounted, purge all air from the hydraulic system by cycling it slowly without a load. Trapped air is a common cause of jerky movements that can damage newly installed seals.
Next, test the hydraulic system at 125% of its normal working pressure while visually inspecting for leaks. Finally, confirm that the cylinder holds a load without drift.
|
Pro Tip: Assess the hydraulic system at reduced operating pressure, then incrementally increase through multiple cycles. This controlled break-in allows seal materials to conform gradually, preventing shock loading that causes immediate seal damage. |
Regular Maintenance & Best Practices

Extending the life of a hydraulic cylinder repair involves adopting a regular maintenance schedule. These proactive measures include:
Routine Inspections
Perform a visual inspection of all hydraulic cylinders. During each inspection, check for early signs of hydraulic fluid leaks, rod scratches or dents, loose hose fittings, and abnormal wear patterns.
Listen for unusual noises that may indicate problems within your hydraulic equipment. By detecting issues early, you can address small problems before they escalate into complete hydraulic system failures.
Protect Wiper Seals
The wiper seal is the first line of defense against contamination. Keep the area around the rod clean, free of dust, grit, and debris.
Replace the wiper seal immediately if it shows signs of tearing, hardening, or wear, as a compromised wiper can allow contaminants to enter and damage internal seals.
Maintain Fluid Quality
Use the correct ISO-grade hydraulic fluid. Contaminated or incorrect fluid accelerates wear on internal components, leading to reduced performance.
Reference the U.S. Department of Energy's fluid cleanliness standards to verify target ISO codes, and regularly test hydraulic fluid for particulate contamination, water content, and viscosity.
Filtration is Key
Ensure your hydraulic system maintains filtration down to 10 microns or better, as high-efficiency filters are essential for removing fine particles that can damage seals and bearings.
Replace filters on schedule as recommended by the manufacturer, and regularly inspect the filter housing for signs of bypass or clogging.
|
Key Insight: Regular maintenance is always more cost-effective than reactive repair. A simple visual inspection can prevent catastrophic failures and thousands of dollars in downtime. |
Other Hydraulic Cylinder Failures to Watch
Beyond standard leaks, hydraulic cylinders can experience various failure modes that lead to reduced performance. These include:
-
Overheating: Occurs when hydraulic fluid temperature exceeds 180°F (82°C). If this happens, shut down the hydraulic system immediately and check both control valve settings and the oil cooler.
-
Rod Scoring: Identified by visible spiral scratches or grooves on the rod surface. Polish the rod or replace it entirely.
-
Misalignment: Evident through uneven wear patterns on the rod surface or gland seal. Realign mounts immediately and inspect all bushings, replacing any that show wear.
-
Contamination Wear: Indicated by dark, gritty, or milky hydraulic fluid. Perform a complete hydraulic system flush, then replace the fluid and all filters.
Turn Costly Breakdowns Into Minor Maintenance Tasks
Managing hydraulic cylinder leaks doesn't have to be overwhelming. By knowing how to check if a hydraulic cylinder is leaking internally and externally and following systematic repair procedures, you can transform potential disasters into manageable tasks.
Remember, every hour invested in prevention saves days of downtime. The principles remain the same whether you're dealing with external seepage or internal leakages. Inspect regularly, repair correctly, and maintain consistently. With these practices in place, your hydraulic systems will operate efficiently, keeping costs down and productivity high.